Capturing lightning in photographs can be a challenging yet highly rewarding endeavor. Each lightning strike is unique, providing you with one-of-a-kind images. If you’re new to lightning photography and unsure of how to begin, this guide is designed to assist you. We will cover the necessary equipment, camera settings, composition techniques, and safety measures to ensure you can capture stunning lightning images effectively.
Things You Need to Photograph Lightning Successfully
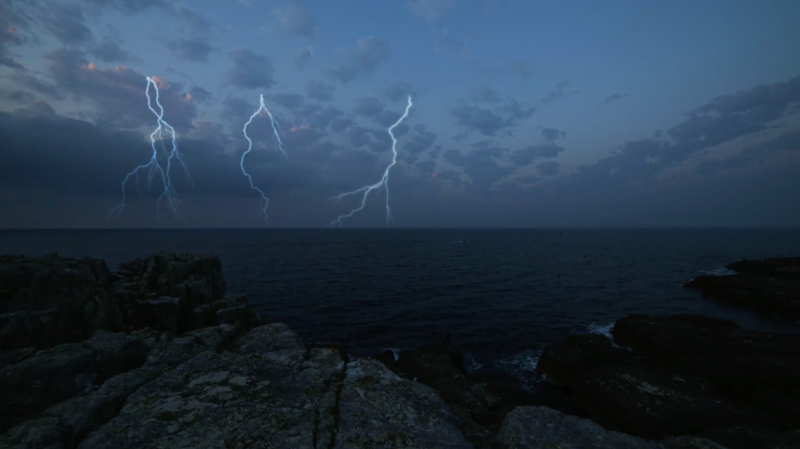
To successfully capture lightning in your photographs, there are a few essential items you’ll need. The good news is that as a photographer, you likely already have some of them in your gear collection. Here’s a list of the things you’ll need:
- DSLR or mirrorless camera: You’ll need a camera that allows you to manually control settings like shutter speed and aperture. It’s recommended to shoot in RAW format for better flexibility in post-processing.
- Tripod: Using a sturdy tripod is highly recommended as it will help keep your camera steady during long exposure shots, which are often necessary for capturing lightning.
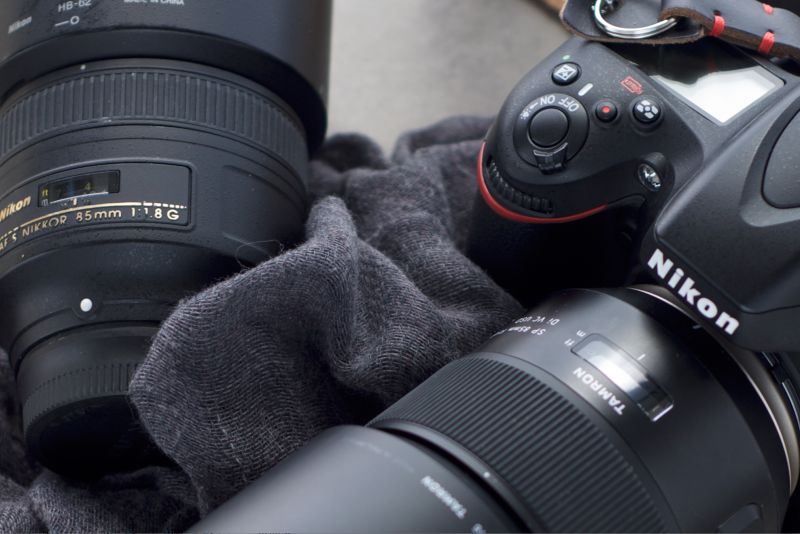
- Lenses: While any lens can be used to capture lightning, a wide-angle lens is particularly useful if you want to include the lightning as part of a larger scene. Zoom lenses provide flexibility for shooting lightning at different distances.
- Weather-proofing gear: As lightning often occurs during storms, it’s important to protect your camera and lenses from rain. If your equipment is not weather-sealed, consider using protective covers or a waterproof housing. Don’t forget to dress appropriately in waterproof clothing to keep yourself comfortable.
- Remote control or cable release: While not essential, using a remote control or cable release can minimize camera shake and help you capture sharper photos by avoiding physically pressing the shutter button.
Optional accessory: 6. MIOPS Trigger: The MIOPS Trigger, specifically the FLEX model, is an optional accessory that automatically detects lightning strikes and captures the image for you. This can be beneficial, allowing you to focus more on the creative aspects of exposure and composition.
Having these items will set you up for a successful lightning photography session. Now, let’s explore the camera settings, composition techniques, and safety considerations in the next sections of our guide.
Think Safety
When it comes to photographing lightning, it’s crucial to prioritize safety above all else. While lightning may be captivating, it can also be extremely dangerous. Here are some safety tips to keep in mind:
- Seek shelter: Whenever possible, it’s best to be inside a sturdy building or a car during a lightning storm. These structures provide protection from lightning strikes and ensure your safety.
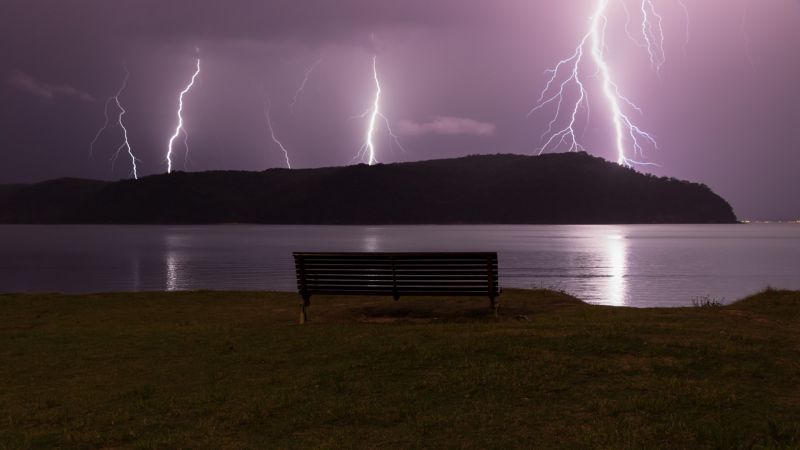
- Avoid open spaces: It’s not advisable to photograph lightning in open areas, especially if there are trees, bodies of water, or tall structures nearby. These objects can attract lightning and increase the risk of being struck. Find a location that offers some form of shelter or protection.
- Don’t underestimate distance: Lightning can strike from a considerable distance away, and it may appear closer than it actually is. Even if the lightning seems far away, if you can see it, you are within range of a potential strike. Err on the side of caution and prioritize your safety.
- Stay informed: Keep an eye on weather forecasts and alerts to be aware of any lightning activity in your area. Be prepared to postpone your photography session if there are severe weather conditions or an increased risk of lightning strikes.
Remember, your safety should always be the top priority when photographing lightning. By taking necessary precautions and avoiding risky situations, you can enjoy capturing stunning images while minimizing the potential dangers associated with lightning storms.
Camera Settings
When it comes to camera settings for lightning photography, here are some tips to help you capture those electrifying moments:
- Manual focus: Set your lens to manual focus and adjust it to focus on the distant horizon or infinity. Take a test shot and check for sharpness to ensure accurate focus. Manual focus is recommended for shooting lightning, especially in low-light conditions where autofocus may struggle.
- Manual exposure mode: Switch your camera to manual mode (usually indicated by ‘M’ on the mode dial). Auto modes can often result in incorrect exposures when photographing lightning.
- ISO: Set your ISO to the lowest value available on your camera. Use a higher ISO only if you need to capture very faint and distant lightning strikes in a darker scene.
- Shutter speed: Longer shutter speeds increase the chances of capturing lightning. Start with a shutter speed between 5 and 30 seconds. Remember, the brightness of a single lightning strike is not affected by the shutter speed but rather the ambient exposure. For a dramatic, dark foreground, or if lightning strikes frequently, consider using shorter shutter speeds of around 1-3 seconds and capturing back-to-back exposures.
- Aperture: A medium aperture of f/4 or f/5.6 works well when there is no foreground subject in your composition. If your images appear overexposed at these settings, try using f/8 or adjust the shutter speed to be faster. If your composition includes a foreground subject and you need more depth-of-field, use a smaller aperture (higher f-stop) such as f/11 or f/16. Keep in mind that with smaller apertures, you may need to slightly increase the ISO to capture faint lightning strikes.
Remember, these settings are just a starting point, and you may need to adjust them based on the specific lighting conditions and desired outcome of your photographs. Experimentation and practice will help you refine your camera settings for stunning lightning shots.
How to Photograph Lightning at Night
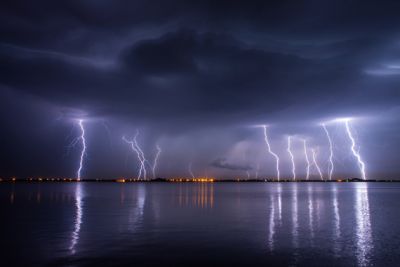
When photographing lightning at night, there are several considerations to keep in mind. Here are some tips to help you capture dramatic lightning images:
- Manual focus: Set your lens to manual focus and adjust it to focus at infinity. This ensures that distant lightning strikes are captured sharply.
- Close lightning: If the lightning is relatively close and striking multiple times, it’s best to close down your aperture (use a higher f/stop) and keep your ISO low to prevent overexposure.
- Ambient light: Take into account the amount of ambient light in the scene. If you are photographing lightning over a cityscape or an area with ample artificial lighting, you may need a faster shutter speed and a lower ISO to avoid overexposure.
- Fast-moving storm clouds: If the storm clouds are moving rapidly and there is frequent lightning activity, consider using a faster shutter speed to avoid ghosting. Ghosting occurs when the same shape appears multiple times in the image due to the movement of clouds during a long exposure. Slower shutter speeds will result in more pronounced ghosting.
- Test shots: Take some test shots with lightning in the frame and review the focus and exposure settings. Adjust the focus, shutter speed, or ISO as needed to achieve the desired results.
Remember, there is no universal setting for photographing lightning at night as it depends on various factors such as the distance of the lightning, ambient light, and cloud movement. Experiment with different settings and make adjustments based on the specific conditions to capture stunning nighttime lightning photographs.


