Affinity Photo has always been known for its exceptional RAW development capabilities, but with the recent addition of non-destructive RAW editing, the program has elevated itself above many of its competitors. This update provides photographers with unparalleled power and flexibility in developing RAW files, making Affinity Photo a compelling alternative to more expensive, subscription-based software options.
Now, users can open RAW files in Affinity Photo and make necessary edits while retaining the ability to revisit and refine those edits at any time within the familiar layer-based interface. This enhancement is a game-changer, offering a remarkable level of functionality for both professional photographers and enthusiasts alike.
In this article, I delve into the details of Affinity’s non-destructive RAW editing workflow, providing a comprehensive guide that covers everything from the basics to advanced techniques. Whether you’re a seasoned professional or a beginner, you’ll find valuable tips and insights to help you make the most out of this powerful feature.
With Affinity Photo’s non-destructive RAW editing, you can confidently develop your RAW files with precision and creativity, knowing that you can always go back and fine-tune your adjustments as your vision evolves. It’s an incredible addition to the software, offering the perfect blend of power, simplicity, and affordability.

Understanding RAW
To fully grasp the immense potential of Affinity Photo’s non-destructive RAW editing, it’s important to familiarize yourself with the concept of RAW files. When you capture an image in JPEG format, your camera discards a significant amount of data captured by the image sensor. While this may not be noticeable in everyday situations, it significantly limits your flexibility when it comes to editing the file. Adjusting colors, recovering details in dark areas, or achieving stunning HDR effects becomes challenging due to the loss of data during the file compression process. This is where the RAW format truly shines.
RAW files, on the other hand, retain all the data captured by your camera’s image sensor, including seemingly redundant information. These files are considerably larger than JPEG images and often require specific software for viewing and editing. Similar to developing film in the days of analog photography, RAW files require development to unleash their full potential. By default, RAW files appear flat and unimpressive, devoid of any tweaks or alterations. This deliberate design allows you, the photographer, to have complete control over the final outcome of your image.
Affinity Photo’s non-destructive RAW editing empowers you to extract every ounce of detail and creativity from RAW files. By working with the unprocessed data, you can leverage the software’s extensive editing capabilities to fine-tune colors, enhance dynamic range, and bring out the true essence of your photographs. This level of control and flexibility ensures that your artistic vision is fully realized while preserving the integrity of the original RAW file.
In the next sections, we will delve into the intricacies of Affinity Photo’s non-destructive RAW editing workflow, unveiling the tools and techniques that enable you to unleash the full potential of your RAW files. Get ready to embark on a transformative journey where your images transcend their initial state, embracing your artistic vision and delivering stunning results.

What is non-destructive RAW editing?
Non-destructive RAW editing is a revolutionary approach that ensures your edits are saved separately and do not alter the original RAW file. This innovative method provides unparalleled flexibility and allows you to revisit and refine your edits at any time, even years or decades after the initial adjustments were made.
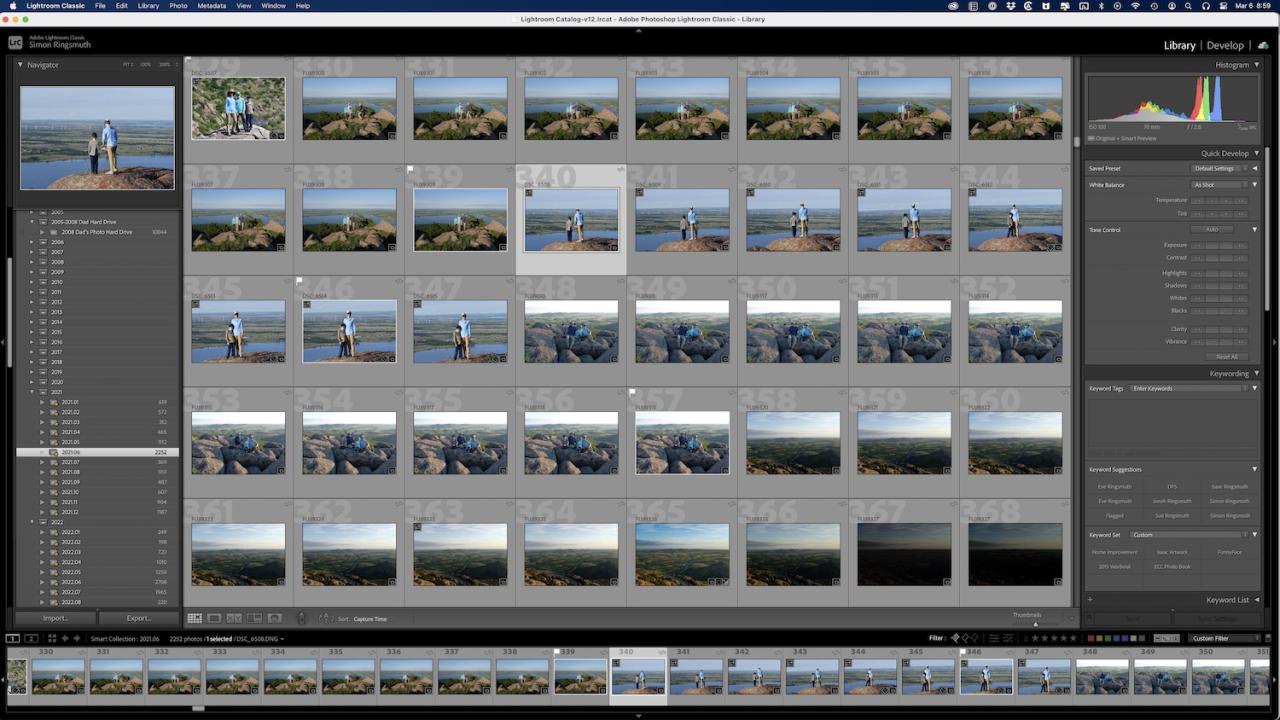
When working with RAW files in programs like Lightroom or Capture One, non-destructive RAW editing is seamlessly integrated into the workflow. These software applications are specifically designed to preserve the integrity of your RAW files while allowing you to make extensive edits. It’s important to note that the images you see in your Library and Develop modules within these programs are not the actual RAW files themselves, but rather small previews that contain instructions for your edits.
By utilizing non-destructive RAW editing, you can freely experiment with various adjustments, such as exposure, white balance, contrast, and more, without permanently modifying the original RAW file. These edits are stored as metadata or instructions within the software, which are then applied to the RAW file when you export or generate a final output. This approach ensures that your RAW file remains untouched, safeguarding its original data and enabling you to revisit and refine your edits whenever necessary.
The advantages of non-destructive RAW editing are manifold. You have the flexibility to fine-tune your images without fear of irreversible changes, allowing for non-linear and iterative editing processes. Additionally, it streamlines your workflow by eliminating the need for duplicate files or multiple versions of the same image, resulting in a more organized and efficient post-processing experience.
So, whether you’re a professional photographer or an enthusiastic hobbyist, non-destructive RAW editing empowers you to explore your creative vision while preserving the authenticity and potential of your RAW files. Embrace this game-changing approach and unlock a world of endless possibilities in your digital editing journey.


