Camera modes provide photographers with control over the exposure triangle, consisting of shutter speed, aperture, and ISO. Each camera mode offers varying degrees of control over these three components. Manual Mode grants full control, allowing photographers to adjust all three settings, while Auto Mode relinquishes control to the camera, which determines the optimal exposure. Between these extremes lie modes such as Shutter Priority and Aperture Priority, which we will explore further. But what is the best camera mode?
Auto Mode: Simplicity and Convenience at the Expense of Control
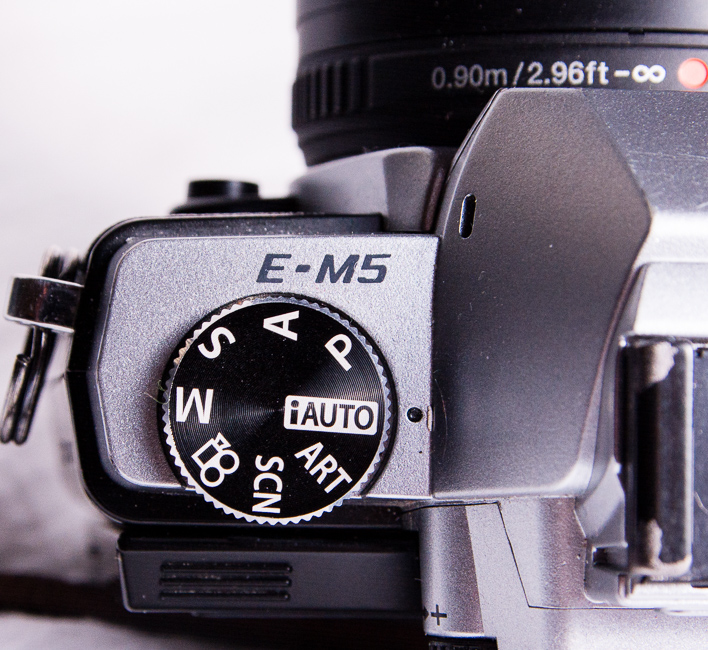
Auto Mode is often criticized and overlooked by photography enthusiasts due to its limited control over the creative and technical aspects of an image. In this mode, the camera takes charge of almost all exposure-related decisions, including shutter speed, aperture, and ISO. As the photographer, your main responsibility is to point the camera and press the shutter button. Auto Mode is primarily designed for quick snapshots and situations where time and exploration of camera settings are limited.
When to Use Auto Mode Auto Mode serves as a convenient catch-all option for individuals who prioritize ease and simplicity over manual control. It is well-suited for casual photographers who may not have the time, interest, or technical knowledge to delve deeper into the capabilities of their camera. By relying on the camera’s algorithms and light metering system, Auto Mode aims to deliver a properly exposed image based on the scene and lighting conditions.
However, it is important to note that professionals and experienced photographers often avoid Auto Mode. This stems from the limitations it poses in terms of creative expression and precise control over exposure. The automatic adjustments made by the camera may not align with the photographer’s artistic vision or desired technical outcomes.
While Auto Mode can be a valuable tool for beginners or in situations that demand quick and hassle-free shooting, it is essential to understand that relinquishing control to the camera restricts the opportunity for personalization and fine-tuning of the final image.
Ultimately, the decision to use Auto Mode depends on the individual’s goals, time constraints, and level of photographic expertise. As photographers progress and develop their skills, they often transition to other camera modes that offer more control and creative freedom.
Aperture Priority Mode: Controlling Depth of Field and Background Separation
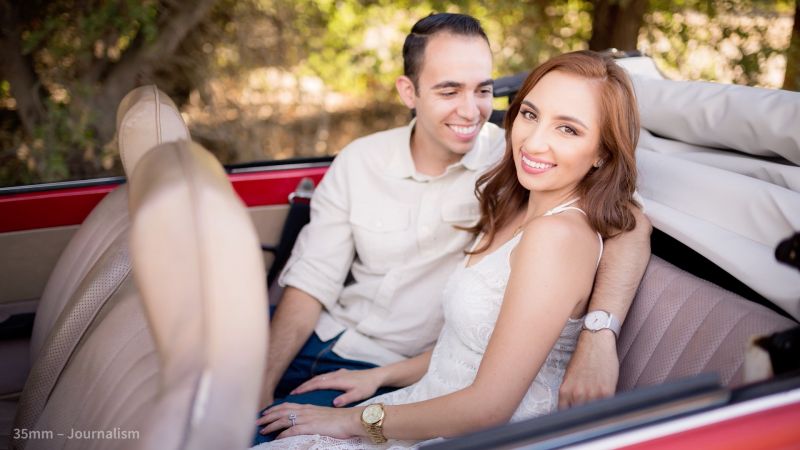
Aperture Priority Mode is a versatile camera mode that allows photographers to have control over the aperture setting while the camera adjusts the shutter speed and, if needed, the ISO to maintain proper exposure. This mode is particularly useful when you want to achieve a specific depth of field, creating a separation between the subject and the background.
In Aperture Priority Mode, you can manually select the desired aperture value (represented by the f-stop number) to control how much light enters the camera through the lens. A wider aperture (lower f-stop number) creates a shallower depth of field, resulting in a blurred background and emphasizing the subject. On the other hand, a narrower aperture (higher f-stop number) increases the depth of field, keeping more of the scene in focus.
While the camera automatically adjusts the shutter speed and ISO, it’s important to note that the exposure is influenced by the chosen metering mode (Spot Metering, Center-Weighted Metering, or Evaluative/Matrix Metering). The camera determines the median exposure based on the metering mode and adjusts the shutter speed accordingly.
When shooting in Aperture Priority Mode, it’s crucial to pay attention to the lighting conditions. In darker environments, you may need to increase the ISO to capture enough light. Additionally, be mindful of potential blurriness caused by camera shake or subject movement, as slower shutter speeds may be chosen by the camera in low-light situations. Adjusting the ISO or widening the aperture further can help mitigate this issue.
Here are some tips for shooting in Aperture Priority Mode:
- In darker scenarios, increase the ISO or widen the aperture to allow more light into the camera.
- In brighter situations, lower the ISO and decrease the aperture width for a greater depth of field.
- Set your base ISO to the lowest native setting for optimal image quality.
- Keep an eye on the resulting image and adjust the aperture or ISO if necessary to achieve the desired exposure and depth of field.
Aperture Priority Mode is a great starting point for photographers who are transitioning from fully automatic modes and want more control over their images. It allows you to explore the creative possibilities of depth of field while still relying on the camera to handle exposure adjustments.
Shutter Priority Mode: Freezing Motion and Controlling Shutter Speed
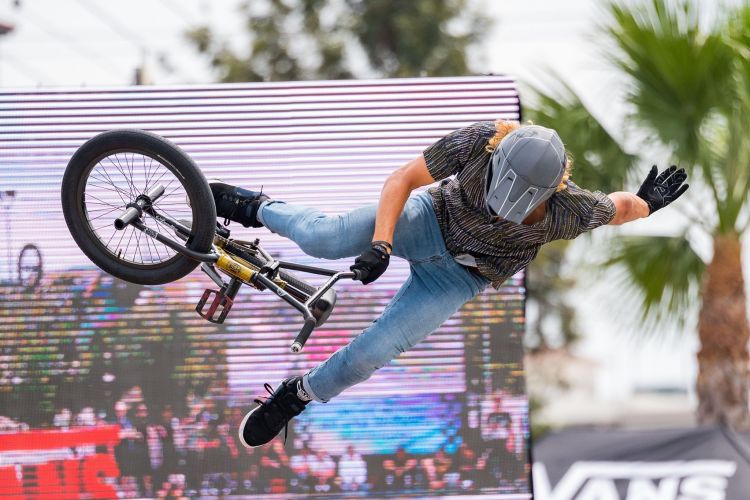
Shutter Priority Mode is a camera mode that allows photographers to manually control the shutter speed while the camera adjusts the aperture and, if needed, the ISO to maintain proper exposure. This mode is particularly useful when capturing fast-moving subjects or controlling the amount of motion blur in an image.
In Shutter Priority Mode, you can set the desired shutter speed to control how long the camera’s shutter remains open, determining the duration of exposure. A faster shutter speed (e.g., 1/1000th of a second) freezes motion, allowing you to capture fast-moving subjects without blur. On the other hand, a slower shutter speed (e.g., 1/30th of a second) creates a sense of motion blur, which can be used creatively for capturing flowing water or light trails.
When using Shutter Priority Mode, it’s important to keep a few things in mind:
- Fast motion requires a fast shutter speed to freeze the action. Start with a shutter speed around 1/250th of a second and adjust as needed based on the type of movement and desired effect.
- Keep in mind that increasing the shutter speed to freeze motion reduces the amount of light entering the camera. This may result in underexposed images. To compensate, you can increase the ISO to make the sensor more sensitive to light. However, be cautious not to increase the ISO excessively, as it can introduce digital noise.
- In situations where camera shake or slight blurriness occurs, even when using other modes like Aperture Priority, switching to Shutter Priority and increasing the shutter speed slightly can help mitigate the issue.
- As a general guideline, the denominator of the shutter speed fraction should be equal to or higher than the focal length of your lens. For example, if you are using a 50mm lens, starting with a shutter speed of 1/50th of a second is a good initial setting. Adjust the shutter speed accordingly based on the desired outcome.
Shutter Priority Mode gives you control over capturing motion and is particularly useful in sports photography, capturing action scenes, or any situation where you want to freeze or control the amount of motion blur in your images. By setting the appropriate shutter speed, you can create dynamic and visually interesting photographs.
Manual Mode: Full Control for Advanced Photographers
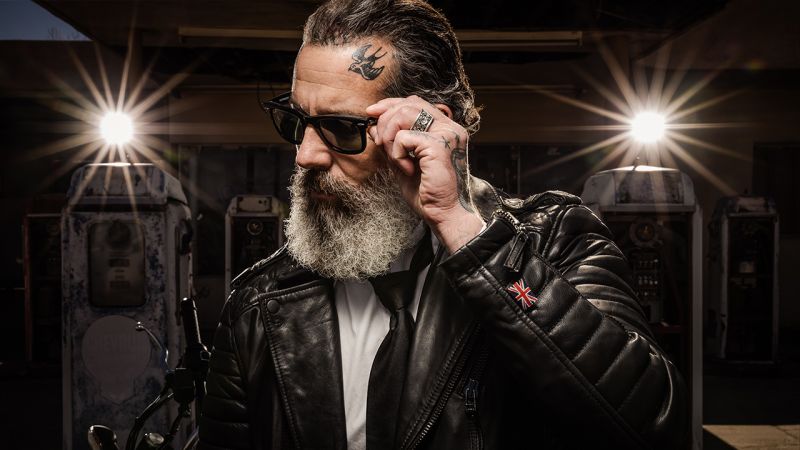
Manual Mode is the mode where you have complete control over all the settings of your camera, including aperture, shutter speed, and ISO. It offers the highest level of control and allows you to tailor the exposure to your specific needs and creative vision. While it may not be necessary for every situation, mastering Manual Mode can significantly enhance your photography skills and give you the ability to capture images exactly as you envision them.
In Manual Mode, you manually set the aperture, shutter speed, and ISO based on your desired exposure and the specific requirements of the scene. You have the flexibility to adjust each of these settings independently to achieve the desired effect. This mode is particularly useful in challenging lighting situations or when you have specific creative goals in mind.
To determine if Manual Mode is the best mode for a particular photo, consider the following factors:
- Motion: If you want to capture or freeze motion, using Manual Mode allows you to control both the shutter speed and aperture. You can set a fast shutter speed to freeze action or a slower shutter speed to create motion blur.
- Depth of field: If you want precise control over the depth of field, Manual Mode allows you to adjust the aperture to control the amount of background blur. You can also adjust the ISO and shutter speed accordingly to maintain proper exposure.
- Camera shake: If you’re experiencing camera shake or having difficulty holding the camera steady, Manual Mode allows you to increase the shutter speed to minimize blur caused by unsteady hands.
- Personal preference and experimentation: Manual Mode gives you the freedom to experiment and fine-tune your settings to achieve your desired results. As you become more familiar with your camera and gain experience, you’ll develop a better understanding of when Manual Mode will be most beneficial for your photography.
While Manual Mode offers maximum control, it does require a solid understanding of exposure and the relationship between aperture, shutter speed, and ISO. It may take time and practice to become proficient in using Manual Mode effectively. However, by learning and experimenting with this mode, you can unlock your creative potential and capture images exactly as you envision them.
Remember, the key to improving as a photographer is to practice and gain experience. Don’t be afraid to explore different modes, experiment with settings, and learn from your results. Photography is a continuous learning journey, and embracing Manual Mode can open up new possibilities for creative expression.


